SALE


A successful backyard sauna and cold plunge area begins with infrastructure, not decoration. The sauna, plunge, walking route, foundation, drainage, electrical service, ventilation, and maintenance clearances must work as one system before screens, plants, or furniture are added. When those fundamentals are correct, the finished area can feel calm and architectural without becoming difficult to use.
The ideal plan places the sauna close enough to the plunge for a safe, convenient transition while keeping splash away from heaters, controls, doors, and vulnerable wood. It provides a level foundation for both products, a direct non-slip path, controlled runoff, code-compliant electrical work, privacy without trapped moisture, and access for delivery and future service.
This guide explains how to move from site assessment to product placement and final landscaping. It also identifies decisions that require a licensed electrician, qualified structural professional, installer, or local authority. Product manuals and local requirements always control over generic dimensions or internet diagrams.
Start by measuring the usable site rather than the property line alone. Mark doors, gates, windows, roof runoff, utility paths, slopes, trees, irrigation, septic components, overhead obstructions, setbacks, and the route from curbside delivery to the final pad. Then place scaled footprints for the sauna and filled plunge, including door swings, steps, covers, controls, and maintenance access.
Next, draw the wet path. Water will leave the plunge on feet and skin, move across the transition zone, and collect wherever the surface is lowest. Direct it away from the sauna foundation, electrical equipment, house, and neighboring property. Finally, layer privacy, lighting, seating, towel storage, and planting around the technical plan.
The most useful layouts create three connected zones: a hot zone around the sauna, a wet zone around the plunge, and a neutral recovery zone with seating, towels, drinking water, and shelter. They feel unified but remain functionally distinct.
| Design Element | Recommended Approach | Common Mistake |
|---|---|---|
| Product placement | Short, direct transition with full service clearance | Placing units tightly together for appearance |
| Foundation | Level, drained, load-appropriate support | Sizing only to the visible footprint |
| Drainage | Positive slope to an approved discharge area | Allowing splash or roof water to pool |
| Electricity | Dedicated circuits and compliant protection by qualified trades | Planning outlets after hardscape is finished |
| Pathway | Continuous slip-resistant walking surface | Loose gravel or stepping stones in the wet route |
| Privacy | Layered screening with airflow and access | Sealing the area so moisture becomes trapped |
| Lighting | Low-glare path, step, control, and task lighting | One bright fixture that creates shadows |
| Storage | Dry ventilated storage outside equipment clearances | Leaving wet towels inside the sauna |
| Landscaping | Low-debris plants with root and service setbacks | Plants that block vents or drop material into water |
Walk the yard at different times of day and during or after rain. Sun, wind, shade, runoff, neighbor sightlines, and nighttime darkness are difficult to understand from a survey alone. Photograph the site from the house, property boundaries, street, and likely seating locations. Note where snow is piled and where leaves collect.
Measure more than length and width. Record elevation changes, overhead branches, fence gates, stair widths, tight turns, and the steepest section of the delivery route. A product that fits on the finished pad may not fit through the side yard or beneath an eave. Freight deliveries also require a receiving plan before assembly begins.
Locate known utilities and arrange required utility marking before excavation. Do not infer the route of buried electrical, gas, irrigation, communications, drainage, or septic lines. Tree roots and protected landscape areas can be equally important constraints.
The route from the back door to the wellness area affects year-round use. A shorter route improves winter access and towel handling, but the sauna still needs appropriate placement, setbacks, drainage, and service clearances. Consider the view from interior rooms because the area becomes part of the landscape even when unused.
Natural runoff reveals low areas and soil limitations. If water already collects where the plunge is proposed, adding a large vessel and hardscape will not solve the problem. A landscape or drainage professional can determine whether grading, a drain, an approved dispersal area, or another strategy is suitable.
The layout should follow a real session: leave the house, store belongings, enter the sauna, cool briefly, approach the plunge, exit safely, dry off, and recover. Draw this movement as a line. If it crosses steps, loose stone, furniture, electrical panels, or a blind corner, revise the plan.
Avoid forcing users to walk behind the sauna, squeeze beside mechanical equipment, or step over plumbing. The path should work for the least mobile intended user and for someone who feels light-headed. The plunge cover should open without blocking the path or trapping a person between products.
Leave enough room for routine tasks. Sauna doors and plunge lids need operating space. Filters, drains, heaters, controls, and access panels must remain reachable. Snow removal, exterior finishing, glass cleaning, and replacement equipment may require more clearance than daily use.
Placing the sauna and plunge side by side creates a compact composition and short transition. Offset the fronts so open doors and covers do not conflict. Use a shared hardscape band with a neutral bench at one end, and keep the plunge splash zone from saturating the sauna threshold.
An L-shaped arrangement creates enclosure and can improve privacy without a full wall. It also frames a recovery terrace. Check the inside corner carefully because runoff, snow, leaves, and maintenance access can become trapped there.
A linear sequence—sauna, transition, plunge, recovery—works along a fence or narrow yard. It needs careful width planning so users can pass open doors and covers. Avoid a dead-end path that would obstruct emergency access.
A larger yard can use the sauna and privacy screens to form a small courtyard around the plunge and seating. This layout feels resort-like but requires more hardscape, drainage, lighting, and cleaning. Preserve airflow and access from at least one generous opening.
Figure 1. Four original backyard sauna and cold plunge layout concepts. These are planning illustrations, not construction drawings.
Catalog dimensions describe the unit, not the finished installation zone. Add roof overhangs, door swing, steps, covers, control access, ventilation space, electrical disconnects, drainage fittings, and the working area needed for service. Keep manufacturer clearances visible on the site plan.
Before fixing the footprint, compare Rodeo Wellness outdoor saunas and download the current documentation for the exact configuration under consideration.
For a commercial example, Rodeo Wellness lists The Outlaw at approximately 79 by 79 inches, with a front height of 87 inches, and a net weight of about 753 pounds. The listed heater is 6 kW at 220–240 volts and 30 amps. Those specifications inform planning but do not replace the current manual or electrician's load calculation.
Review The Outlaw outdoor sauna for current dimensions, heater options, electrical data, availability, and installation notes before construction.
The Cold Spring is listed at approximately 70.9 by 35.4 by 32.6 inches, excluding wheels, with an approximate filled weight of 1,887 pounds before the user is added. Its U.S. model is listed for a dedicated 110-volt, 15-amp GFCI-protected circuit. A structural plan must use filled operating weight, not empty delivery weight.
Review The Cold Spring cold plunge for the current filled weight, circuit requirement, filtration, sanitation, drain, and service information.
Specifications can change. Confirm the exact model, configuration, voltage, heater or chiller, and documentation before foundations or circuits are installed. If the design must accommodate a future replacement, reserve a slightly larger service envelope and a practical removal route.
Specification verification: On October 23, 2026, the current product pages listed The Outlaw at approximately 79 × 79 inches, about 753 pounds net, and 220–240 volts/30 amps with the listed standard 6 kW heater. The Cold Spring page listed approximately 70.9 × 35.4 × 32.6 inches, about 1,887 pounds filled before the user, and a dedicated 110-volt/15-amp GFCI-protected circuit for the U.S. model. Recheck at purchase because models and options can change.
The sauna and plunge need level, stable support with drainage around—not through—the foundation. Concrete, reinforced pavers, a properly prepared gravel system, or an engineered deck may be suitable depending on the product, soil, climate, and local requirements. The correct choice depends on loads and site conditions rather than appearance.
A plunge concentrates substantial weight in a small area. Water alone weighs roughly 8.34 pounds per U.S. gallon, before the shell, equipment, and user are added. A deck that feels solid under people may still be inadequate for a continuously loaded vessel. Obtain professional structural evaluation for decks, roofs, balconies, and elevated platforms.
The foundation should extend far enough to support the complete base and keep surrounding soil or mulch from washing against the unit. Preserve drainage fittings and service panels. A narrow pad that ends exactly at the wall can create erosion, muddy access, and difficult maintenance.
Concrete provides a durable, level surface and can be sloped around equipment while keeping each product base within its allowed tolerance. Plan conduits, sleeves, drains, and finished elevations before the pour. Do not create a recessed basin that traps water beneath the sauna.
Pavers can integrate with a patio and allow future access, but they require a well-compacted base and edge restraint. Settlement under a heavy plunge can affect level, cover operation, and plumbing. The installer should design for the actual load and freeze-thaw conditions.
Compacted angular aggregate can drain well for some sauna models when prepared in layers and retained properly. It is less suitable as the barefoot transition surface and may not satisfy every plunge manufacturer. Use a stable walking band even when gravel supports the broader area.
A deck can create a seamless connection to the house, but it introduces structural, drainage, electrical, ventilation, and access questions. Waterproofing alone does not prove load capacity. Keep mechanical equipment ventilated and make hidden plumbing inspectable.
Drainage must manage four sources: bather splash, plunge water changes, sauna roof runoff, and ordinary rain or snowmelt. These flows occur at different volumes and rates. A decorative channel that handles wet feet may not safely accept a full vessel drain.
Confirm where water is legally and environmentally permitted to go. Sanitized plunge water may require dechlorination, controlled discharge, sanitary routing, or other local measures. Never direct it toward a neighbor, septic component, foundation, natural waterway, or slope where erosion will result.
Grade the transition surface to shed water without making the product bases unlevel. Keep roof downspouts and drip lines away from doors and walking areas. In freezing climates, drainage should not cross the route to the house or create ice below steps.
Provide access to clean drains, channels, and strainers. Leaves, hair, needles, mulch, and ice can block them. A system that cannot be inspected will eventually become a hidden maintenance problem.
Routine splash can move across a gently sloped, slip-resistant surface toward a drain or permeable area. Water changes may need a hose connection or controlled valve route. Plan both so the operator does not improvise with a loose hose through the walking zone.
A backyard sauna and cold plunge normally involve multiple loads: sauna heater, controls, lighting, chiller, circulation pump, sanitizer, and possibly convenience receptacles or landscape lights. They should not be assumed to share one circuit. A licensed electrician should review product documentation, local code, panel capacity, conductor routes, disconnects, protection, and environmental ratings.
The most economical route is not always the shortest line on the plan. Conduit must avoid foundations, tree roots, drainage conflicts, future excavation, and trip hazards. Reserve electrical locations before concrete, pavers, or planting are installed. Extension cords are not a permanent solution.
Water changes the electrical environment. Required GFCI or other protection, bonding, receptacle placement, disconnect access, and clearances depend on the equipment and adopted local code. Do not use generic spa diagrams as a substitute for the exact listed product and local inspection.
Controls should be reachable without standing in pooled water or leaning across the plunge. Exterior switches, boxes, fittings, and luminaires need appropriate ratings. Keep electrical access visible rather than hiding it behind a fixed privacy wall.
Use current nameplates and manuals. The Outlaw example is listed at 220–240 volts and 30 amps, while the U.S. Cold Spring example calls for a dedicated 110-volt, 15-amp GFCI-protected circuit. Heater upgrades or different products can change those requirements substantially.
Low-voltage path lighting can simplify certain landscape installations, but its transformer and wiring still require proper placement and compatibility. It does not replace compliant branch circuits for the sauna or plunge.
The path between sauna and plunge is the most-used part of the design and the easiest to underestimate. It should remain stable when wet, offer reliable traction to bare feet, and avoid abrupt level changes. Continuous paving is generally easier to navigate than isolated stepping stones or loose gravel.
Keep the route short enough for convenience but not so tight that doors, covers, and users collide. Include a place to pause after leaving the sauna. A slim bench or ledge outside equipment clearances allows someone to sit if light-headed.
Handholds can be integrated into a privacy screen or freestanding rail, but they must be structurally dependable rather than decorative. Plunge steps should not wobble or block service access. Consider contrasting nosings or subtle lighting where levels change.
In winter, the path must be shovelable and drain before freezing. Heated surfaces may be possible in some projects but add electrical, control, energy, and repair considerations. A roof or canopy can reduce precipitation while still preserving ventilation and manufacturer clearances.
Privacy is most effective when layered. Combine the orientation of doors and glass, partial screens, fencing, planting, and distance rather than relying on one solid wall. This approach blocks key sightlines while allowing air to move and the area to feel connected to the yard.
Start by mapping views from neighboring windows, upper floors, the street, and rooms inside the home. A screen only needs to interrupt those lines; it may not need to surround the entire area. Angled slats can preserve light and airflow while improving privacy.
Do not close mechanical equipment into an unventilated cabinet unless the manufacturer permits it. Chillers release heat and require air. Sauna walls and roofs need inspection and drying. Solid enclosures can trap humidity, leaves, snow, and pests.
Emergency and service access remain essential. Gates should open easily from inside, and screens should not prevent another person from reaching the plunge. Check zoning, fence height, pool or spa barrier rules, and homeowners-association requirements before construction.
A single bright fixture creates glare, harsh shadows, and a less relaxing environment. Layered lighting uses low-level path illumination, step and threshold lighting, task light at controls or storage, and restrained ambient light around planting or architecture.
Keep fixtures out of direct eye lines from sauna benches and the plunge. Warm, shielded light generally preserves a calmer atmosphere. Avoid aiming lights at neighboring windows or upward into the sky. Motion sensors can support access, but sudden full brightness may be unpleasant during a session.
Every fixture, driver, transformer, switch, and connection must be suitable for its environment and installed correctly. The wet zone deserves particular attention. Coordinate lighting with the electrician rather than adding it after equipment circuits are complete.
Provide enough illumination to identify water on the path, read controls, operate covers, and locate steps. Decorative darkness should never make movement uncertain.
A small amount of dry storage prevents towels, robes, cleaning tools, test supplies, and footwear from spreading across the path. Place everyday items within reach but outside sauna heater clearances and plunge splash. Wet textiles need a ventilated place to dry, not a sealed box.
Chemical storage must follow product labels and remain secure from children, pets, heat, moisture, and incompatible substances. Never store oxidizers or other plunge chemicals inside the sauna. Keep chemicals in original containers and do not combine leftovers.
The neutral recovery zone should include stable seating, towels, drinking water, and room to cool or rewarm gradually. It also works as a waiting area when only one person can use the plunge. Position it so seated users do not block exits or service panels.
A built-in bench can anchor the design and conceal limited non-mechanical storage, provided ventilation and drainage are preserved. Use materials that tolerate wet clothing and can be cleaned.
A weather-resistant cabinet is easier to replace and reposition. Elevate or detail it so water does not collect beneath it, and confirm doors can open without narrowing the route.
Landscaping should soften equipment, frame views, and manage scale without dropping excessive debris into the plunge or against the sauna. Favor plants suited to local climate, soil, sun, and irrigation conditions. Keep mature size—not nursery size—in mind.
Avoid aggressive roots near foundations, drains, or buried utilities. Maintain clearance around vents, chiller airflow, doors, filters, and exterior walls. Thorny or toxic plants do not belong beside a barefoot path, and strongly scented species may be overwhelming in a warm enclosed courtyard.
Mulch should not wash onto the pad or remain piled against wood. Gravel can create a clean visual edge but should be retained away from the barefoot route. Irrigation spray should not repeatedly wet sauna cladding, controls, glazing, or electrical equipment.
Use planting to create foreground, middle ground, and a backdrop. A few well-placed evergreens or grasses often provide better year-round screening than a dense mix that becomes difficult to maintain.
If the sauna has panoramic glass, orient it toward a controlled garden view rather than a service yard, bright security light, or neighbor window. Place a focal tree, stone, or screen where it can be enjoyed from the bench while maintaining privacy.
A canopy can protect the transition zone, storage, and controls from rain or snow, but it should not conflict with sauna chimney requirements where applicable, heater ventilation, roof drainage, manufacturer clearances, or local permits. A roof also changes wind and moisture behavior.
Direct canopy runoff into a planned system rather than onto the plunge cover or path. In snow regions, consider sliding snow, drift formation, structural snow load, and the ability to clear both product roofs. In hot climates, shade can reduce solar gain and chiller load.
A fully enclosed room is a different project from an open backyard area. Enclosure may trigger additional ventilation, moisture, electrical, building, and pool or spa requirements. Do not gradually add walls around equipment without reassessing the design.
Confirm freight dimensions, pallet weights, curbside conditions, gate width, turning radius, crane or cart access, and staging space. Protect lawns, irrigation, pavers, and overhead structures during delivery. Some components may arrive separately.
Assembly requires level working space, tool access, and safe handling. Do not schedule delivery before concrete cure, electrical rough-in decisions, or drainage completion. Keep packaging until inspection and photograph any freight damage according to the seller's process.
Future service may require pulling a chiller, opening a sauna wall, replacing a heater, or removing the entire product. A removable fence panel or access gate can preserve a clean design without making replacement impossible. Record buried conduit, drain, and foundation locations before covering them.
The equipment price is only one part of the budget. Include survey or design work, permits, site clearing, excavation, foundation, structural engineering, drainage, electrical service, lighting, delivery, assembly, landscaping, storage, covers, water-care supplies, and ongoing energy.
The table is a planning example, not a project quote. It deliberately avoids invented installation prices; obtain written local bids after products and site conditions are verified.
| Cost Component | Documented Baseline | Planning Treatment |
|---|---|---|
| The Outlaw | Current listed sale price: $9,500 | Verify current price, heater option, shipping, and tax. |
| The Cold Spring | Current listed sale price: $9,500 | Verify current price, shipping, tax, and accessories. |
| Equipment subtotal | $19,000 before shipping and tax | Illustrative only; pricing can change. |
| Foundation and drainage | Site-specific contractor quote | Depends on soil, load, frost, slope, and discharge route. |
| Electrical work | Licensed-electrician quote | Depends on panel capacity, circuits, distance, trenching, permits, and options. |
| Delivery and assembly | Project-specific quote | Depends on freight terms, access, handling equipment, and labor. |
| Privacy and landscape | Design allowance or quote | Depends on materials, screens, lighting, planting, and restoration. |
Allow contingency for concealed site conditions and utility upgrades. A long electrical run or inadequate service panel can materially affect cost. Soil problems, retaining walls, or difficult freight access can do the same. Resolve high-cost unknowns before ordering products.
Prioritize in this order: safe foundation and drainage, compliant utilities, reliable access, product placement, then privacy and finishes. Decorative work can be phased; undersized infrastructure is expensive to correct.
| Budget Category | What to Include | Why It Is Often Missed |
|---|---|---|
| Site preparation | Clearing, excavation, grading, soil correction | The yard appears level until elevations are measured |
| Foundation | Pad, base, reinforcement, edge and frost detailing | Quotes may cover only the visible slab |
| Electrical | Panel capacity, circuits, conduit, disconnects, inspection | Equipment prices exclude site power |
| Drainage | Surface grading, channels, discharge route | Splash and full water changes are different loads |
| Delivery and assembly | Freight receiving, access equipment, labor | Curbside delivery is not final placement |
| Landscape and privacy | Screens, planting, irrigation changes, lighting | Often treated as decoration rather than infrastructure |
| Ownership | Energy, filters, chemicals, water, service | Operating costs arrive after installation |
Small yards benefit from precision rather than miniature clearances. A parallel or linear layout can work when doors and covers open into dedicated zones. Use one layered privacy screen, integrated bench storage, and a continuous paved path. Avoid filling every gap with planting.
Medium yards can separate wet and neutral zones while keeping the transition short. An L-shaped layout often creates useful enclosure. Allow a clear service corridor behind mechanical components, even if it is screened from the main view.
Large yards should resist excessive separation. A distant plunge may look dramatic but makes wet, cold walking less safe and discourages use. Create a compact wellness room within the landscape, then connect it to the house with a wider garden path.
Focus on noise, neighbor views, drainage boundaries, delivery access, and mechanical ventilation. Vertical screens and restrained planting can provide privacy without consuming floor area.
Coordinate with existing doors, grills, pools, play areas, and roof runoff. Preserve family circulation so children do not use the wellness route as a shortcut.
Long utility runs, well and septic locations, wildlife, wind, snow drifting, and emergency access become more important. The most scenic location is not always the most serviceable.
Climate changes equipment performance, drainage, comfort, and maintenance. A design intended for year-round use in a snowy region needs different roof edges, walking surfaces, and access than one in a hot humid climate. Product outdoor ratings do not remove the need for site-specific weather planning.
Keep the route short and easy to shovel. Avoid roof slopes that unload snow onto the plunge cover, steps, controls, or service side. Place drains where meltwater will not refreeze across the path. Frost movement can disturb pavers and foundations, so base depth and detailing should follow local practice. Protect exposed plumbing as the manufacturer directs and create a plan for outages or seasonal shutdown.
Wind protection can improve comfort, but a solid enclosure may promote drifting or restrict chiller ventilation. Use screens that block prevailing wind at user height while allowing mechanical airflow. Provide a dry indoor destination close enough that a wet user can rewarm safely without crossing the entire yard.
Shade can reduce surface temperatures and chiller workload, but the canopy should not trap exhaust heat. Light-colored hardscape may be more comfortable under bare feet than dark paving in full sun. Confirm ultraviolet and weather durability for screens, storage, covers, seals, and finishes. Irrigation should not spray the equipment in an attempt to cool it.
High ambient temperatures may lengthen plunge cooling time and raise energy use. Give the chiller the clear airflow specified by its manufacturer and keep condenser surfaces clean. Locate noisy mechanical equipment away from bedroom windows without hiding it in a sealed cabinet.
Prioritize rapid drainage, airflow, roof runoff control, and inspection access around wood. Dense planting and solid screens can keep surfaces damp long after a storm. Increase spacing where appropriate and select finishes that can be maintained without dismantling the landscape. Store textiles in a truly dry location rather than an outdoor cabinet that traps humidity.
Wind affects comfort, covers, doors, planting, snow, and rain direction. Confirm that plunge covers can be secured and sauna doors will not be caught by gusts. Screens and canopies require structural design for local wind loads. Flexible planting may filter wind, but roots and mature spread must stay clear of utilities and foundations.
A useful proposal should identify exact products or documented allowances, finished elevations, foundation construction, electrical scope, drainage destination, access, permits, and exclusions. A single line for 'sauna pad and power' is not enough to compare bids. Ask each contractor to work from the same scaled plan and current product documents.
Check who is responsible for utility locating, panel upgrades, inspections, trench restoration, water discharge approval, delivery receiving, assembly, commissioning, and landscape repair. Confirm whether excavation assumes ordinary soil and what happens if rock, groundwater, unsuitable fill, or buried work is discovered.
The drawing should show products in operating condition: doors open, covers lifted, steps installed, service panels accessible, and screens at full height. It should also show slopes and drain routes. Review lighting at night and sightlines from neighboring upper windows, not only from ground level.
Before approving the work, verify these proposal items:
The most expensive mistake is buying equipment before confirming the site. Product footprint, filled weight, voltage, drainage, delivery access, and clearances should be documented first. A second common error is building hardscape before the electrician and drainage contractor coordinate routes.
Another mistake is placing the plunge on a deck without structural review or assuming wheels make a filled vessel easy to relocate. A heavy operational load should remain on a verified level support. Privacy screens can also create trouble when they block chiller airflow or access panels.
Loose gravel, isolated stepping stones, dark stairs, roof drip lines, and icy runoff make transitions unsafe. Wet towels stored inside the sauna create moisture and heater hazards. Dense planting increases debris and conceals leaks.
Finally, do not copy a photograph without understanding climate and code. A layout that works in a dry mild region may fail under freeze-thaw cycles, hurricanes, wildfire exposure, heavy snow, expansive soil, or local water restrictions.
For publication, upload the original layout figure with the alt text provided in this document. Implement BlogPosting and BreadcrumbList schema through the Shopify theme, then verify the canonical URL, indexability, sitemap inclusion, mobile layout, and Core Web Vitals on the live page.
A disciplined sequence reduces redesign. Begin with exact product candidates and their current manuals, then assess the site, develop scaled options, and confirm infrastructure before selecting finishes. Keep one coordinated plan rather than separate contractor sketches.
Follow these project stages:
Add the complete product footprints, manufacturer clearances, door and cover movement, steps, service access, and a safe transition path. The required area is always larger than the catalog dimensions alone.
Close enough for a short direct transition, but far enough that splash does not reach heaters, controls, electrical components, or vulnerable wood. Exact clearances come from the product documents and local plan.
A level, load-appropriate foundation with a continuous slip-resistant walking surface usually works best. Concrete or pavers are common, while gravel may suit some foundations but is less comfortable on the wet barefoot route.
Only after a qualified structural professional verifies the sauna and the plunge at full operating weight, including water and users. Drainage, ventilation, electrical routing, and service access must also be resolved.
The product may use an integrated drain valve, but the site still needs an approved route for water changes and routine splash. Local rules determine where treated water may go.
Do not assume so. Loads and protection requirements differ. A licensed electrician should use the exact equipment documentation and local code to design circuits.
Orient doors and glass away from sightlines, then layer partial screens, fencing, and planting. Preserve airflow, service access, supervision, and emergency entry.
Use shielded path, step, threshold, task, and subtle ambient lighting rather than one glaring fixture. All components must be suitable for the outdoor and wet environment.
Use dry, ventilated storage near the recovery area but outside heater clearances and heavy splash. Remove wet towels rather than leaving them in the sauna.
Maintain manufacturer and service clearances. Keep roots, irrigation spray, mulch, and debris away from foundations, vents, walls, doors, and mechanical equipment.
A canopy can improve weather protection but affects permits, runoff, snow load, ventilation, and equipment clearances. Design it as part of the project rather than an afterthought.
Choose placement away from bedrooms and neighbors, provide manufacturer-required airflow, use appropriate vibration control, and avoid a sealed enclosure that causes overheating.
Possibly, if the base is designed and compacted for the filled load and remains level. Confirm the product requirements and local soil and frost conditions.
Provide positive drainage, remove splash promptly, use a surface with winter traction, manage roof runoff, and keep the route shovelable. Heated surfaces require professional design.
Controls should be accessible, visible, protected as required, and operable without standing in pooled water or blocking doors. Follow product and electrical requirements.
Permit, setback, barrier, electrical, structural, and zoning requirements vary by jurisdiction and project. Confirm with local authorities and any homeowners association before ordering.
Leave access to filters, chillers, heaters, stones, controls, drains, roofs, and exterior walls. Preserve a removal route for major components.
Provide stable seating, dry towels, robes, footwear, drinking water, and enough space to cool or rewarm without blocking circulation.
Use a linear or parallel layout, one continuous material, integrated storage, layered screening, and restrained planting. Protect clearances rather than filling every gap.
Coordinate foundation, drainage, electricity, product clearances, and the transition path before choosing finishes. These systems determine whether the area remains safe and convenient.
A backyard sauna and cold plunge area succeeds when it functions as one coordinated environment. The foundation must support the actual loads, drainage must manage splash and water changes, electrical work must match the selected products and code, and the transition path must remain safe in every season.
Privacy, lighting, landscaping, and storage should strengthen that technical plan. Layered screens preserve airflow, low-glare lighting makes movement clear, low-debris planting frames the space, and ventilated storage keeps wet textiles and chemicals where they belong.
Measure carefully, verify current product documentation, involve qualified professionals early, and preserve service access. A calm-looking space is the result of solving practical details, not hiding them.
Design the site before purchasing equipment. Select the sauna and plunge together, draw their full operating envelopes, and price foundation, drainage, electrical service, delivery, lighting, privacy, and maintenance as part of the same project. Choose a compact arrangement with a direct slip-resistant path and a neutral recovery zone.
For Rodeo Wellness buyers, compare the full sauna collection with The Cold Spring and verify current specifications for the exact pairing. The Outlaw and Cold Spring illustrate why this matters: the sauna and filled plunge have very different loads and electrical needs. A coordinated plan protects performance, simplifies ownership, and creates a backyard wellness area that feels intentional for years.
 OUR BEST SELLERS
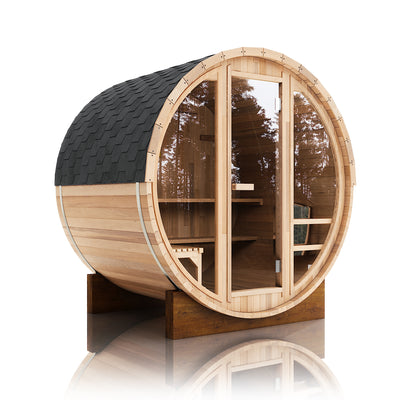
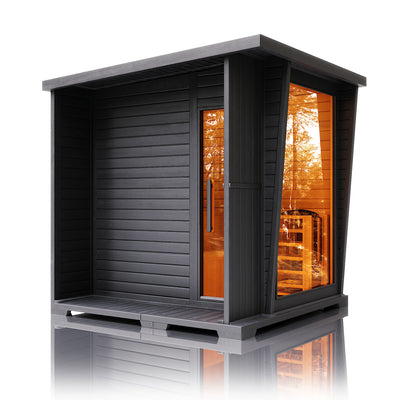
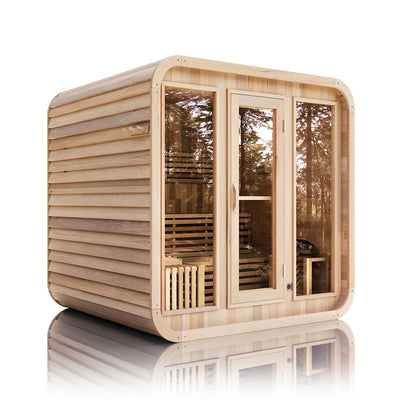
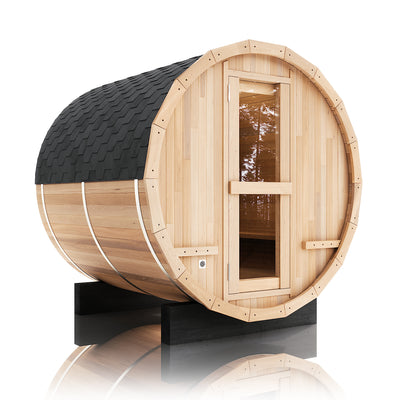
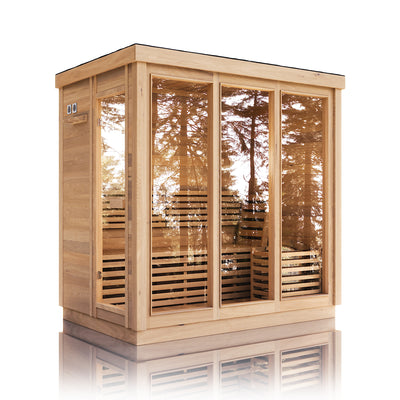
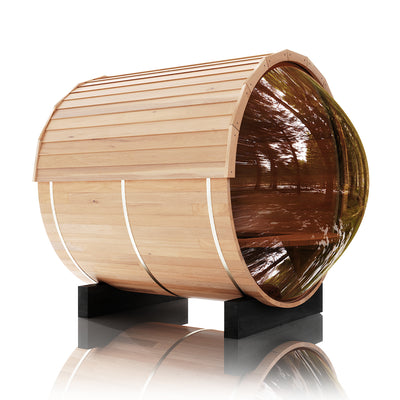

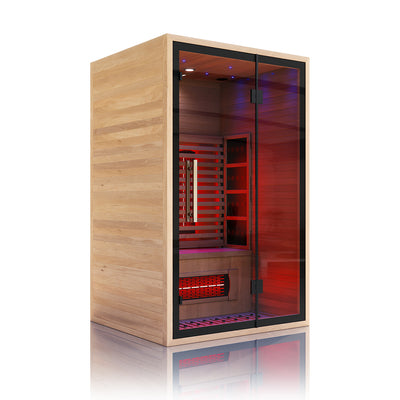
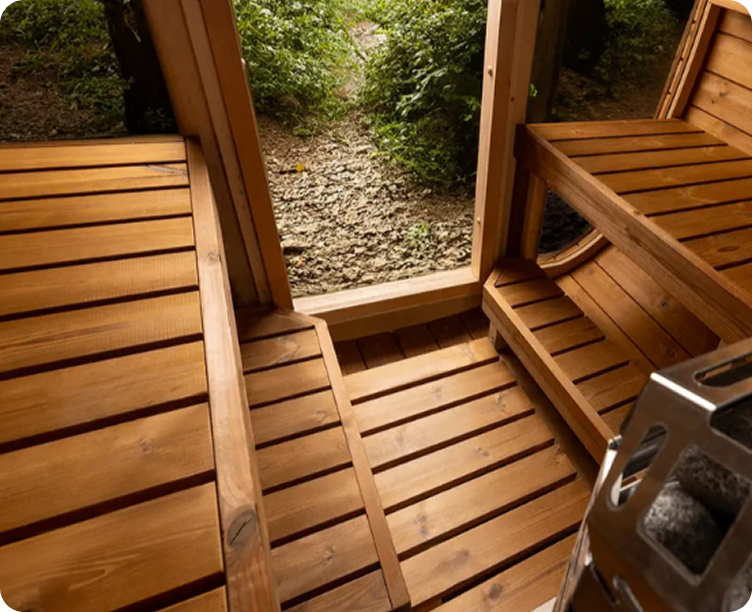
Crafted from rich Hemlock or Red Cedar, with tempered glass and stainless steel accents.
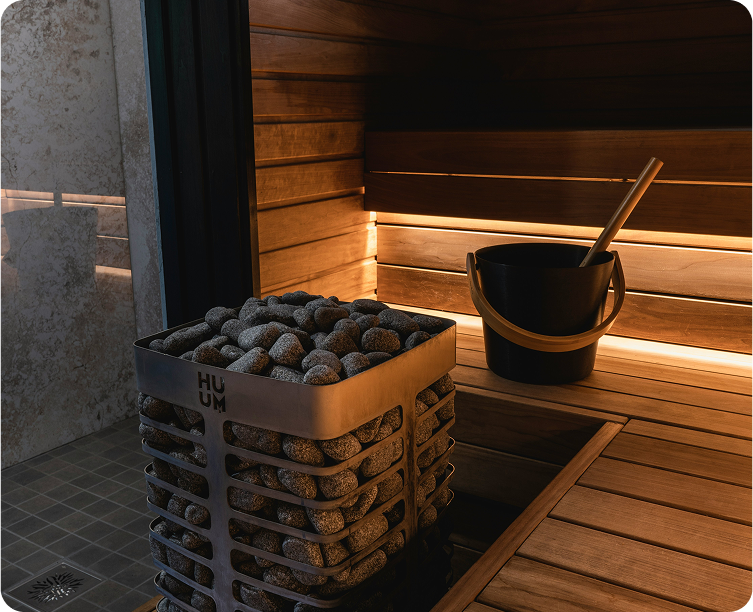
Thoughtfully designed layout ensures efficient heat flow, maximizing comfort, performance, and effortless daily use.
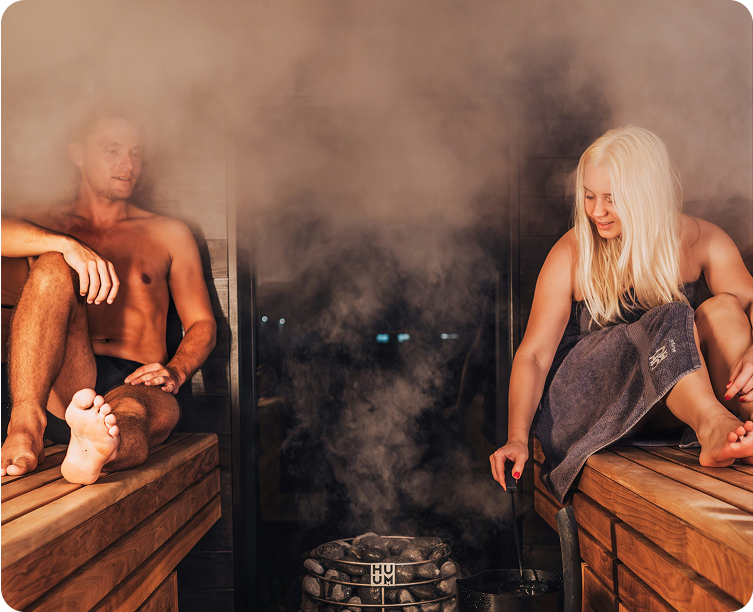
Delivers smooth, even heat throughout, creating a deeply relaxing, reliable sauna experience every session.

